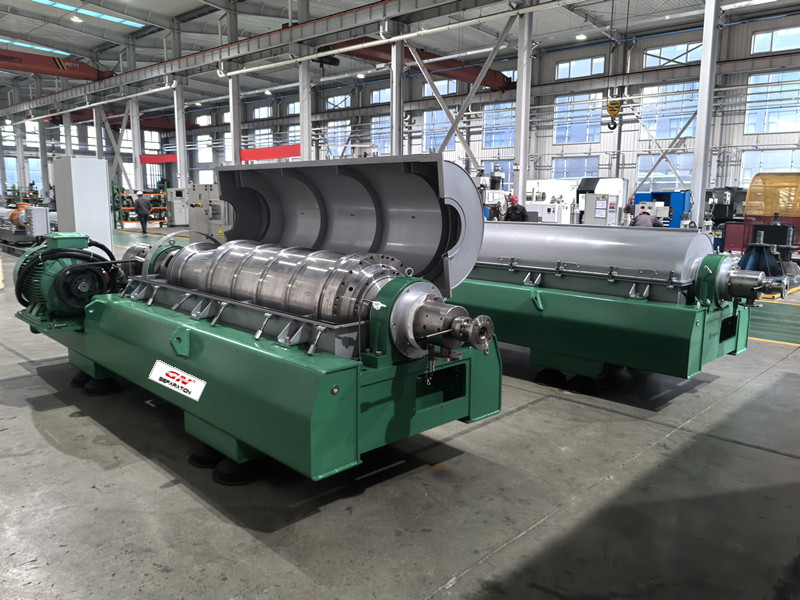
During operation, a Decanter centrifuge runs at high rotational speeds, which places stringent demands on its bearings. Proper bearing maintenance and replacement are crucial to ensure smooth operation, prevent damage, and extend service life of the Decanter centrifuge.
When the drum bearings show signs of wear or malfunction and require replacement, it is essential to follow the correct procedure. The following steps outline the recommended bearing replacement method to ensure safe and reliable operation.
1. Preparation and Safety
Before starting, ensure the following:
Only qualified personnel should perform disassembly and assembly.
Use professional tools designed for bearing and centrifuge maintenance.
Disconnect the centrifuge from power and follow all lockout/tagout procedures.
Clean the working area and prepare lifting devices for the Decanter centrifuge if needed.
2. Disassembling the Small-End Bearing

Remove the Pressure Plate Bolts
Begin by loosening and removing the bolts from the pressure plate located on the main pulley end.
Extract the Pressure Plate
Use jack screws to evenly push out the end pressure plate. Ensure that all screws are loaded evenly to avoid skewing or deformation.
Remove the Pulley
Using a three-jaw puller, grip the pulley and pull it out carefully.
Mark Components for Reassembly
Clearly mark the relative positions of all components (keys, sleeves, seals, etc.) to ensure correct reinstallation later.
Remove Associated Components
Sequentially disassemble the flat key, taper-end screw, bearing seat sealing ring, and O-ring.
Extract the Bearing Assembly
Place a supporting pad on the bearing end face of the bowl shaft. Then, using a puller tripod, simultaneously remove the bearing sleeve, bearing sleeve gland, bearing, and shaft sleeve as a single unit.
3. Disassembling the Big-End Bearing

The process for the big-end bearing is similar but involves additional components:
Remove the Flange Bolts
Loosen and remove the flange bolts, then take out the differential and spline shaft.
Disassemble the Shaft End Pressure Plate
Remove the bolts from the shaft end pressure plate and use jack screws to push it out evenly. Keep the applied force balanced to avoid tilting.
Remove the Bearing Assembly
Place a pad on the shaft end face, then use a three-jaw puller to remove the connecting flange, bearing seat sealing ring, and flat key.
Extract Bearing Components
As with the small end, use a tripod puller to remove the bearing sleeve, bearing sleeve gland, bearing, and shaft sleeve together.
Make clear alignment marks on the bearing sleeve for accurate reassembly.
4. Key Notes for Reassembly
Ensure all parts are thoroughly cleaned and inspected for wear or damage before reinstallation.
Apply appropriate grease or lubricant to the bearings and seals according to manufacturer specifications.
Install the components in the reverse order of disassembly, aligning all marks made earlier.
After assembly, perform a manual rotation check to confirm smooth movement before restarting the centrifuge.
5. Summary
Although the replacement procedures for the small and big end bearings are similar, careful attention to detail is essential throughout the process. Accurate marking, even force application, and the use of correct tools will ensure safe bearing replacement and help maintain the reliability and longevity of the Decanter centrifuge.