Monthly Archives: October 2024

Causes of thermal cracks in decanter centrifuges

The thermal cracks generated in the Decanter centrifuge all occur and develop along the junction of the dendrites in the weld metal. The most common situation is that cracks in the middle of the weld along the length of the weld are sometimes distributed between two dendritic grains inside the weld.

Decanter centrifuge hot cracks are all produced at the grain boundary, which shows that the grain boundary is a “weak zone” during the crystallization process of the weld.

The reason for the formation of this weak zone is because in the metal crystallization process, there are more brittle impurities enriched in the grain boundary, and these impurities have a lower melting temperature. For example, FeS can be formed when the metal to be welded contains high sulfur content, and FeS and iron form a low-melting eutectic with a melting point of only 988 degrees. For example, in the later stage of the solidification process of the welded metal, the low melting point eutectic is pushed to the grain boundary to form a so-called “liquid interlayer.” In the process of metal transition from liquid to solid, the weld is subjected to tensile stress due to volume shrinkage. Under the action of tensile stress, cracks may be formed in this liquid interlayer, that is, thermal cracks.

Therefore, the reason for the thermal cracking of the centrifuge is that the weld is subjected to the existence of a liquid interlayer, and the weld is subjected to tensile stress during the crystallization process. The existence of a liquid interlayer is the root cause of thermal cracks, and tensile stress is a necessary condition for thermal cracks. From the above analysis, it can be seen that not the entire crystallization process will produce hot cracks, but only in the later stage of the crystallization process, near the solidus line is the dangerous temperature zone for hot cracks.
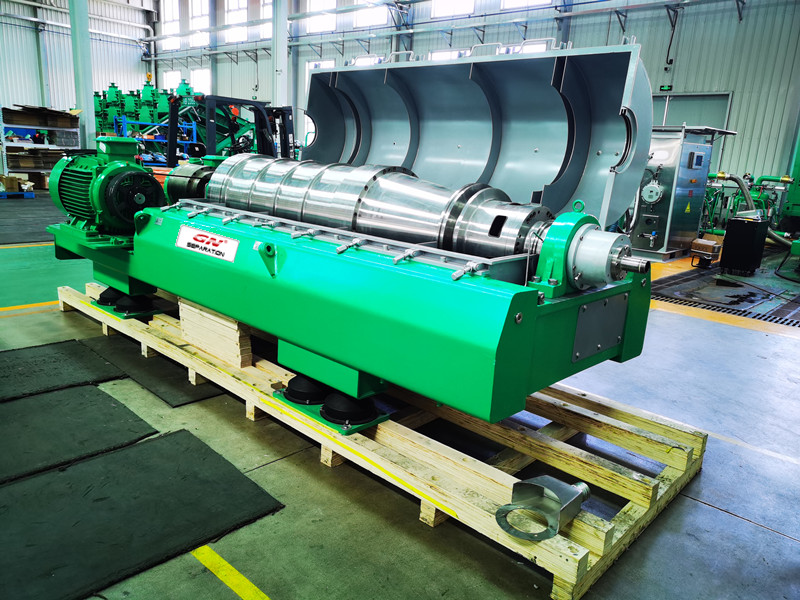
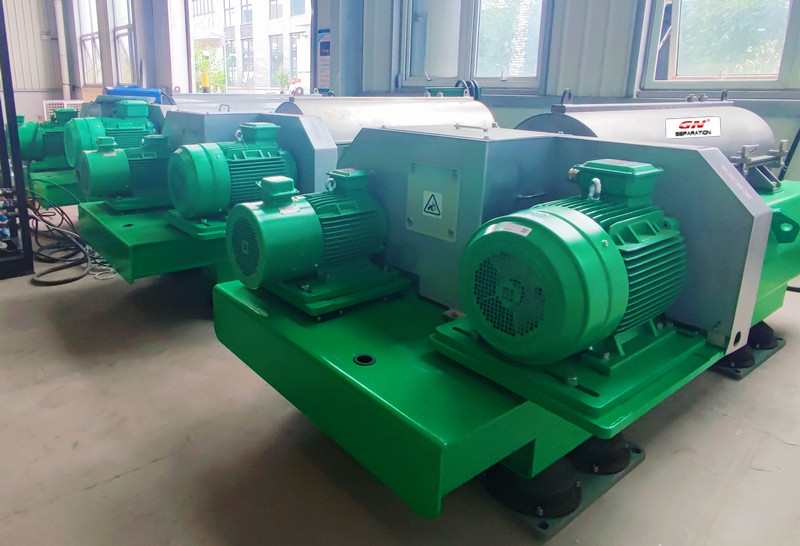
Drilling Mud dewatering centrifuge Unit for Europe Client

GN Separation have successfully delivered two drilling mud dewatering decanter centrifuge systems to a European client. Each system is carefully designed with a GNLW364FT decanter centrifuge, a chemical dosing system, and a mud feed screw pump, all conveniently housed in standard containers for improved transportation efficiency and easy installation. This innovative packaging approach greatly enhances the equipment’s maintainability and protection, ensuring long service life and minimal downtime. Continue reading

How to Address Gear Problems in Decanter Centrifuges

Decanter centrifuges contain numerous gears, and if any one of them encounters an issue, it can affect the entire operation. Based on the experience of decanter centrifuge manufacturers, common faults in centrifuge gears can generally be summarized as follows.

Common gear faults in decanter centrifuges include tooth surface wear, gluing and scratching on the tooth surface, tooth surface contact fatigue, bending fatigue, and broken teeth. Causes of these issues include manufacturing defects, improper assembly, inadequate lubrication, overload, and operational errors. Due to the structure and operating principles of gears, their vibration signals are often complex. Diagnosing gear vibration issues requires analysis in both the time domain and frequency domain. Whether the gear is in a normal or abnormal state, the change frequency of the gear meshing stiffness will always be present. Therefore, diagnosis should focus on the gear meshing frequency component. Due to the complex nature of gear signals, faults significantly impact the vibration signal. Amplitude modulation and frequency modulation can lead to numerous sideband structures in the gear vibration spectrum, which necessitates a detailed analysis during fault diagnosis.

The characteristic fault frequencies of centrifuge gears are as follows:

  1. Normal Frequency Spectrum: The spectrum typically shows the 1X frequency and meshing frequencies of all rotating shafts. Speed sidebands appear on both sides of the gear meshing frequency, with small peak values.
  2. Gear Wear: The gear’s natural frequency may appear, with a sideband at the rotational speed of the shaft containing the worn gear. With significant wear, a sideband with a higher peak may emerge near the meshing frequency.
  3. Eccentric Gears: Sidebands with higher amplitudes near the meshing frequency indicate gear eccentricity or shaft misalignment. As the load increases, so does the peak at the meshing frequency.
  4. Misalignment of Gears: This issue typically excites vibrations at the second or higher harmonics of the meshing frequency. Peaks at the 2X or 3X meshing frequency spectrum may increase, with side frequencies separated by the rotational speed.